Tuesday, 24 September 2013

Download LiveSuit Pack v1.11


This archive contains the flash tool LiveSuit v1.11 and Widows USB drivers needed when upgrading Allwinner A10 / A13 devices. You can download LiveSuit Pack v1.11 from here, here or here. + MediaFire Mirror.


Now, before anything, makes sure your tablet / android device is charged up, 100% charge is nice.

Once extracted, and before attaching your tablet to your PC, run the file '
LiveSuitPack_1.11.exe' from within the Livesuit folder. This should install a new device on your system (VID_1f3a_PID_efe8). This device may show with an exclamation mark in Windows Device Manager, this doesn't matter and can be ignored. Now edit the firmware name (.img file) that you have downloaded so that there are no Chinese or Foreign characters within the filename.

Without attaching your tablet to your PC run 'LiveSuit.exe' from within the Livesuit folder. You should get an application like in the image above. You will be asked if you want to be guided through the process, select no.
Click on the leftmost icon (a cube), browse to your downloaded firmware image, and select it.

Turn the tablet completely off. The tablet should be off throughout the next process. Hold down the power button for ten or fifteen seconds if you're not sure, just make sure it is off. Charged up, but off. Connect the USB cable to your tablet and hold down the volume+ button, keep the button pressed.

Connect the other end of the USB cable to your computer (keep that volume+ button pressed - I know, it hurts by now)

Using your third hand, straight after attaching the cable, and whilst still holding down the volume+ button, start pressing the tablet power button repeatedly (approx 1 press per second for 10 seconds is enough). This procedure puts the tablet into update mode.

After a few seconds a window will pop up on your PC asking if you want to perform a forced firmware update. You can stop the pain and release the volume+ at this point. Select yes. You will be asked if you're sure. Select yes.

The update will start and will take approx 3 minutes to complete. You will see a % complete progress bar during the process and will get a dialog saying OK when it's done. It is a non-linear progress bar, so even though it appears to be stuck at times, don't panic.

Turn your tablet on and you will have the new firmware, be happy/sad based on the fact that it is better/worse than your previous firmware.


tutorial via www.slatedroid.com

Wednesday, 18 September 2013

A New Weapon in the Tablet Wars: Allwinner Announces the Ultra-Efficient Dual Core A23 Processor for Tablets

Allwinner Technology, a leading fabless processor design company, today announced the release of its breakthrough dual core A23 processor for tablets. With more performance and less power consumption, the A23 is 2x more efficient than previous generation dual core processors.


To deliver ultimate efficiency, the A23 features a balance of advanced DVFS power management, lower power process technology, enhanced memory bandwidth, the energy-efficient ARM Cortex-A7 CPU architecture, ultra-low power talking standby, ultra-low power music playback, and more. As always, Allwinner is working closely with its partners to ensure that A23 tablet designs are stable and ready for market.

“Competition in the tablet space has heated up this year, and OEM brands need better processor choices in order to boost margins and gain market share,” noted Jack Lee, Director of Marketing at Allwinner. “The dual core A23 processor will help tablet brands win more business in highly-competitive emerging markets and in growing markets like educational tablets”. 

Power, performance, and cost are critical factors to winning market share. Tablets powered by the A23 are highly cost-competitive, thanks to Allwinner’s expertise in highly-integrated processor design. High on-chip integration of peripherals like MIPI DSI, LVDS, USB OTG/Host, etc reduces overall system costs and tablet cost.

Allwinner’s core partners are scheduled to start delivering dual core A23 tablet samples in October. Early models include 7”, 7.85”, and 9” form factors with LCD resolutions of 800x480, 1024x600, 1024x768, and 1280x800.
Additionally, 2.75G (EDGE) 7” dual core tablets will be available for emerging markets like Brazil, India, Southeast Asia, the Middle East, and more.

About Allwinner
Allwinner Technology is a leading fabless design company dedicated to smart application processor SoCs and smart analog ICs. Its product line includes multi-core application processors for smart devices and smart power management ICs used by brands worldwide.
With its focus on cutting edge UHD video processing, high performance multi-core CPU/GPU integration, and ultra-low power consumption, Allwinner Technology is a mainstream solution provider for the global tablet, internet TV, smart home device, automotive in-dash device, smart power management, and mobile connected device markets. Allwinner Technology is headquartered in Zhuhai, China.

Monday, 16 September 2013

Download PhoenixCard v3.06


PhoenixCard is a software that let you burn Android firmwares on micro SD cards. Phoenixcard is free Windows based software designed to create bootable images and write them to connected removeable drives, such as SDCARDs or MicroSDs. The removeable drive is then placed into the target device and the device is made to boot from the removeable drive, applying an update or complete reimage to the target.  It is used especially for Allwinner A10 ARM processors.

Download PhoenixCard v3.06 from here, here or here.
[update] Now you can download PhoenixCard v3.09 from here.

Create installation SD card.
Important: This will erase the SD card


  • Download and unzip the Phoenixcard archive to a folder on your PC. 
  • Unzip the single (imagename).img from the downloaded image to an accessible folder on your Windows system.
  • Obtain a micro SD card of at least 1GB in size and connect it to your PC in some fashion. It should be accessible under a drive letter in Windows.
  • Browse to the folder where you unzipped Phoenixcard and find the PhoenixCard.exe file with the green folder icon next to it. Double click to launch. The Phoenixcard software will launch.
  • Using the drop down to the right of Disk select the windows drive letter that contains your Micro SD card.
  • Click on the image button and browse to whereever you extracted (imagename).img to, and select the file.
  • Ensure Product is selected under Write Mode. Product mode will create a self booting Micro SD designed to apply a separate image to a device.
  • Click on Burn. Pay attention to the status messages. Once it is complete you can eject the Micro SD from your windows system.


PhoenixCard User Guideline

Sunday, 8 September 2013

Pipo S1 Pro English 4.2.2 custom firmware

Here is the easiest to do this firmware update:
1. Download Pipo S1 Pro English firmware image from: link1 or link2. [Update] You can download the rooted version from here or from here. (thanks to
Cripple Guy)
2. Put your Pipo S1 Pro tablet in 'firmware update mode'.
3. Run Rockchip Batch Tool v1.7, select the proper image .img file from your desktop, and after your device is found by the program, press the 'Restore' button and wait for 2-3 minutes to finish. The first boot is very long, wait about 5-7 minutes.

Brief Description: 
- Android Jelly Bean 4.2.2
- Based off of stock firmware 20130702
- Fixed Build.prop for better market access (GT-i9300) (the i9300 is the Exynos Quad based SIII)
- Removed Chinese Apps
- Firmware is in English by default


Wednesday, 4 September 2013

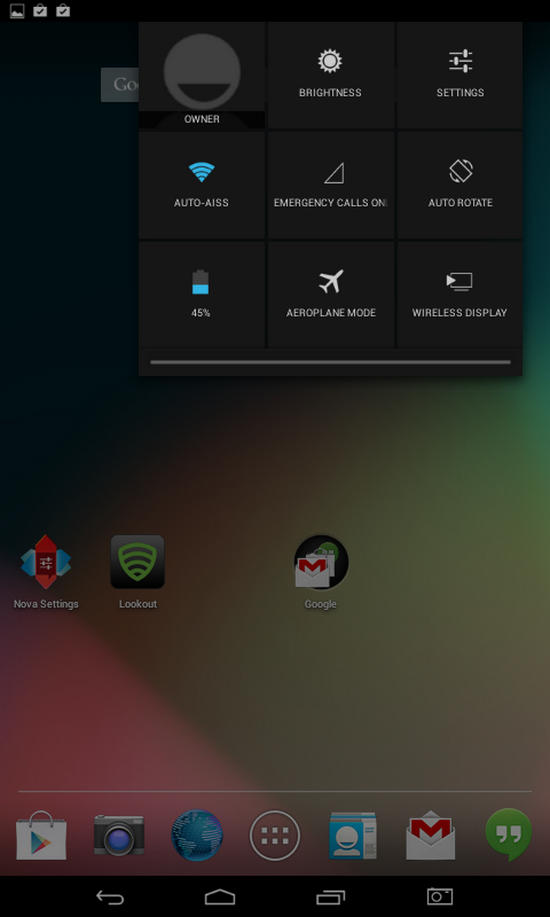
Patch v1.0 for Sumvision Cyclone Voyager 7' 4.2.2


All you need:

  • PiPO S1 Tablet and Data Cable
  • Rockchip Batch Tool - Download Here
  • RockUSB Drivers - Included at Rockchip Batch Tool
  • Sumvision Cyclone Voyager 4.2 ROM (Rooted by Kasty)- Download Here
  • Root Explorer (Any)
  • Cyclone Voyager Patch v1 by AlmoSTacey - Download Here
  • A Windows PC (Windows 7 Recommended)
  • A Brain and Patience
  • Nova Launcher (Prime or Free - Download it at Play Store)
  • Follow the original tutorial from here nicdroid.blogspot.ro
Steps to follow
1.) Download the attatch buildv1.prop.
2.) Copy buildv1.prop to root folder not to system folder
3.) Rename buildv1.prop to build.prop
4.) Change the permission of build.prop to RW-R-R
5.) Copy the build.prop with the permission of RW-R-R
6.) Now go to system folder and change the permission of the system folder to RW.
7.) Paste the build.prop and overwrite it and reboot....

Patch v1.0
- Nexus 7 Style (With status bar on top)
- 120 DPI for look like HD :)

Build.prop Tweaks
- Better Performance
- Faster Scrolling
- Long life Battery
- Increas Media Performance
- Increas Streaming Video